3 Rules that Trigger the right Actions for Salesforce– Pardot Engagement Studio Best Practices!
Engagement Studio is the next-generation lead nurturing tool of Pardot that enables you to effectively track and manage customer journeys throughout the campaign lifecycle. It allows you to map the entire customer journey on a single page and visually maps out campaign flows through Pardot Engagement Studio actions, triggers and rules-based routing for automated lead nurturing. You can benefit from a host of amazing features that allow you to trigger actions based on specific data, check if prospects have taken an action, track where your prospects interacted with content along the journey, and much more. Check out this comprehensive blog encapsulating some of the latest Pardot Engagement Studio best practices and how it can help you accelerate customer journey and maximize the success of every marketing campaign that you launch.
Pardot Engagement Studio Tip 1:
Ensure that you strategically plan the days and times that you want your program to run
Since Pardot is primarily a B2B marketing automation tool, it has integrated business hours into the Pardot Engagement Studio. You can customize emails to be sent within certain business hours and on which days, to increase the probability of your email open and click rates. There is a caveat to this though. The defined business hours are tied to one >timezone defined in the program’s settings. This could present a challenge for international marketing campaigns that are designed to reach global audiences. An email that is sent out at 9 am GMT would get delivered at 6 pm to the intended audiences in Tokyo, probably after they have left office and at 1 am to the San Francisco audience when most of the population would be fast asleep. This is a challenge that needs to be overcome in order to get your emails to reach the inbox of your audiences at the most appropriate timing.
The Workaround
The primary solution is to segment audiences by time zone first and then route to the specific Pardot Engagement Studio for the specific time zone.
Step 1: Copy the Engagement Program
Create 1 copy per time zone, and ensure that you change the ‘time zone’ dropdown
Step 2: Dynamic Time Zone lists
Create dynamic lists with certain criteria that will segment your audiences automatically. You could use some customizations that will allow you to use the country field, state, or set up a specific ‘time zone’ field. It is best if could check if your chosen field has good data (no blanks), and to either capture data upfront on forms, or place Salesforce validation on this field, to make sure that it is always filled in.
Step 3: Apply correct recipient lists
Ensure that you switch out the original list on Engagement program, and replace it with the dynamic list and start all your programs once done.
Pardot Engagement Studio Tip 2:
Know the difference between your delay options when using wait times
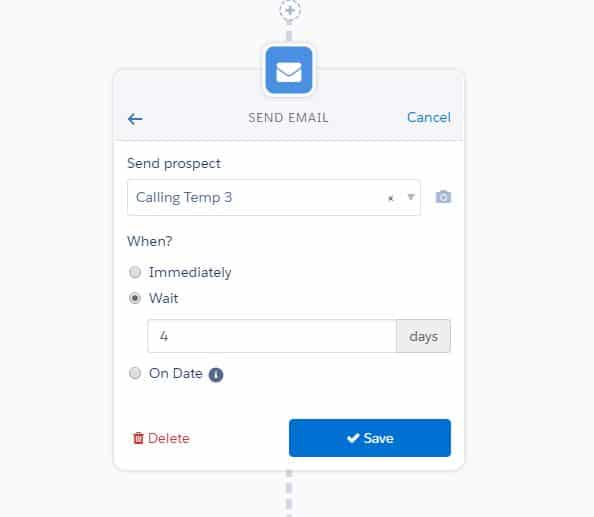
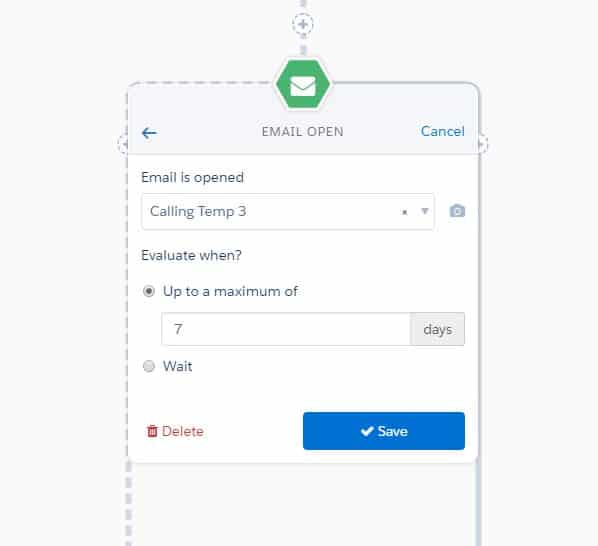
A trigger, which is set up with a wait period of up to 10 days means, Pardot Engagement Studio will listen for the specific time and if the prospective customer meets the criteria, they can be moved on to the next stage immediately. This enables you to move your most engaged prospects through the funnel at their own pace, or instantly notify sales reps when a prospect takes an action. As a matter of choice, you can set a wait period of X days delay, which means prospects will be evaluated for the criteria of the trigger after the set period of time and move onto the next step together, which works better for a long term nurture where you want the messaging to spread out over a period of time.
Pardot Engagement Studio Tip 3:
Save Time and Build More with Pardot Engagement Studio Copy & Paste
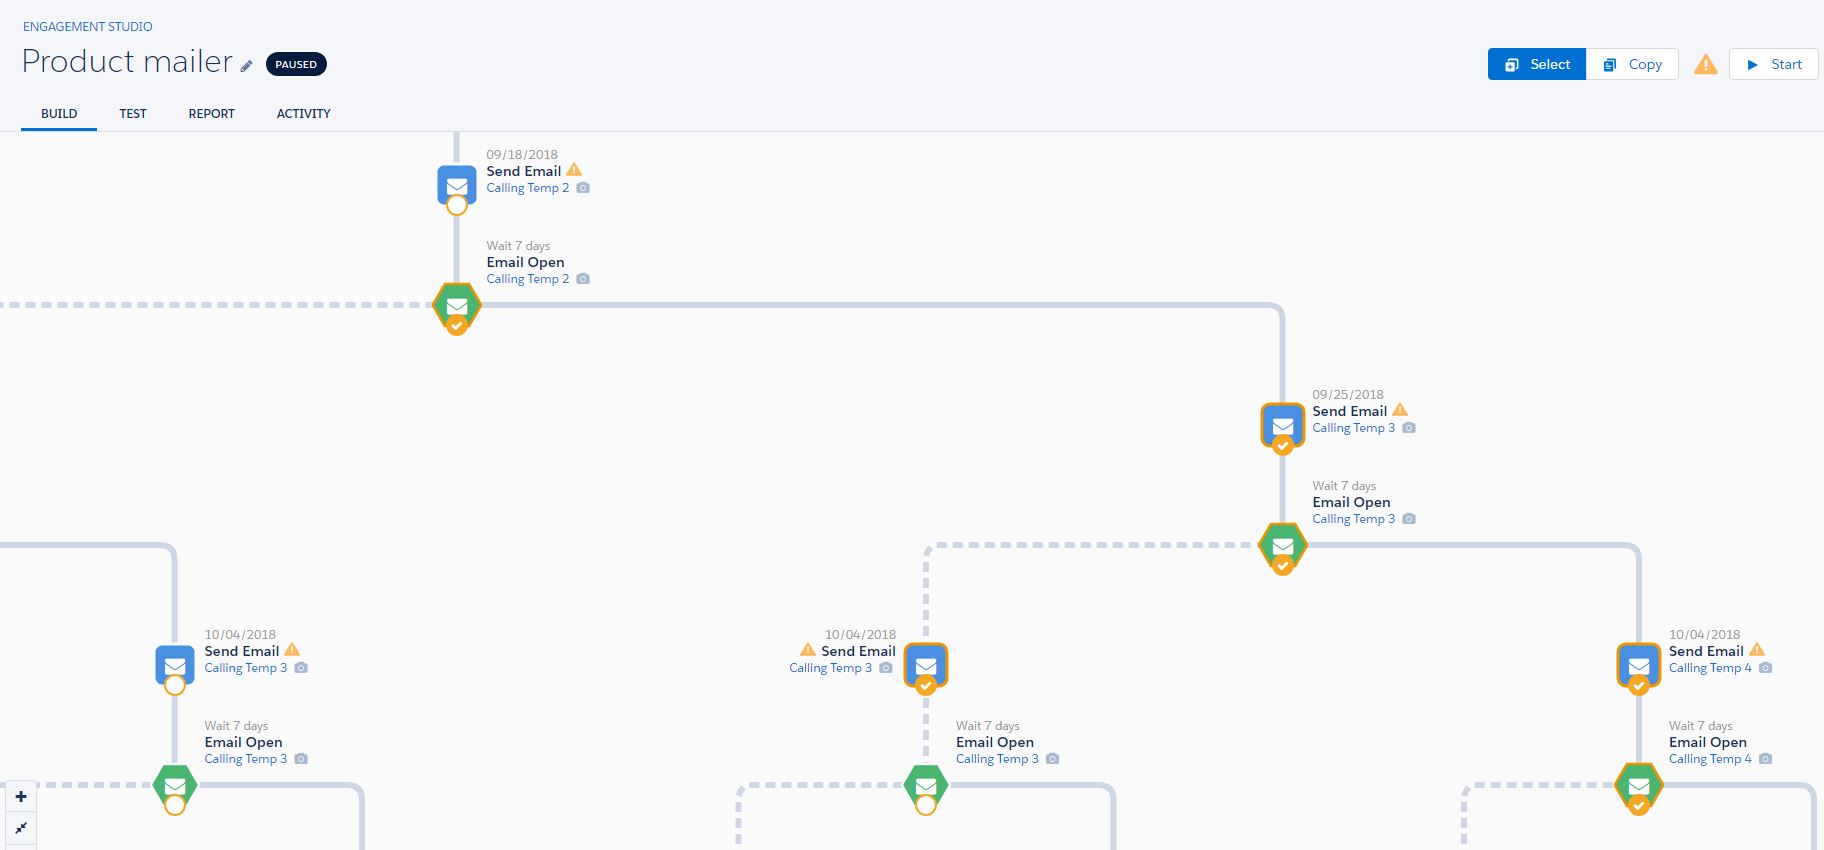
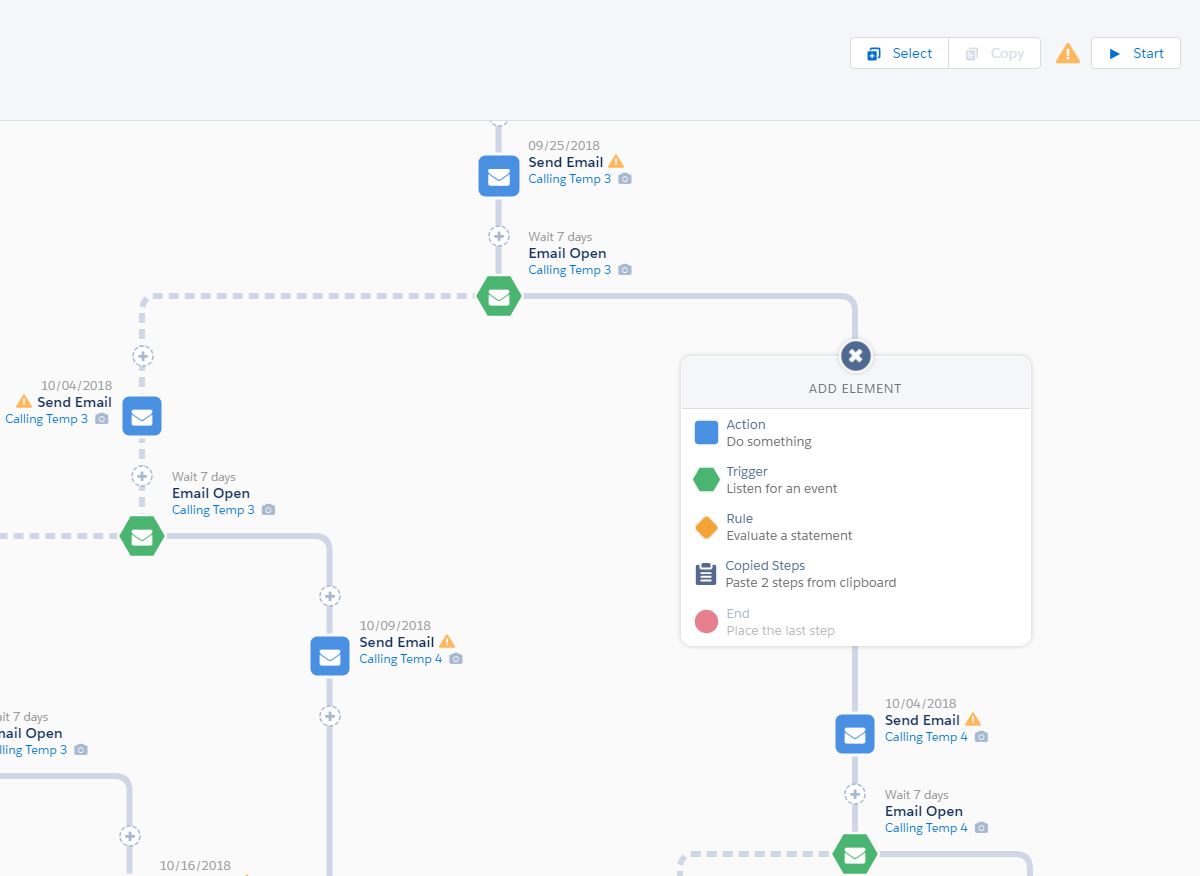
Pardot Engagement Studio Copy & Paste saves time building programs so you can focus on the higher priority tasks on your to-do list. To start with, you need to enter the new Selection Mode while building a program. Selection Mode lets you select up to 10 steps in a program that will be copied using the “Copy to clipboard” feature.
Easily Copy & Paste Repeating Logic
Once a selection of steps is copied, you will automatically be taken back to the build tab. Click any possibility step to use the new “Copied Steps” action to paste your copied selection.
One of the amazing features of Pardot Engagement Studio Copy & Paste is that your steps are pasted in the same state they were copied — if you had an email template selected, wait times defined, or specific send-on dates, that information is also pasted with the selection. If you want to fill in the details of your steps later by selecting steps to copy that do not have details included, that’s possible too!
You can now build out a robust, customized marketing program with confidence that your structure, assets, and timing are exactly as designed in a matter of minutes.

