
Talend Open Studio - Salesforce To Salesforce Data Migration
Talend Open Studio - Salesforce To Salesforce Data Migration
It is a open source java based software used to migrate data from one source to another, So in salesforce it is used to migrate data from one salesforce org to another, As there are so many tools fro data migration in salesforce like Data Loader, Data Loader IO but Talend have some advantages over these tools like :
1. No CSV file is required for data migration.2. Migration is fast as compared to other tools.3. Mapping for the fields is drag and drop which makes this tool easy to use.
How to install Talend :
1. The first requirement for this tool is java, If not installed then download it and set the path for java.
2 . This tool is available for both Linux and windows and can be downloaded from the below link from the data integration tab
How to use Talend Open Studio
1.Open the .exe file in windows
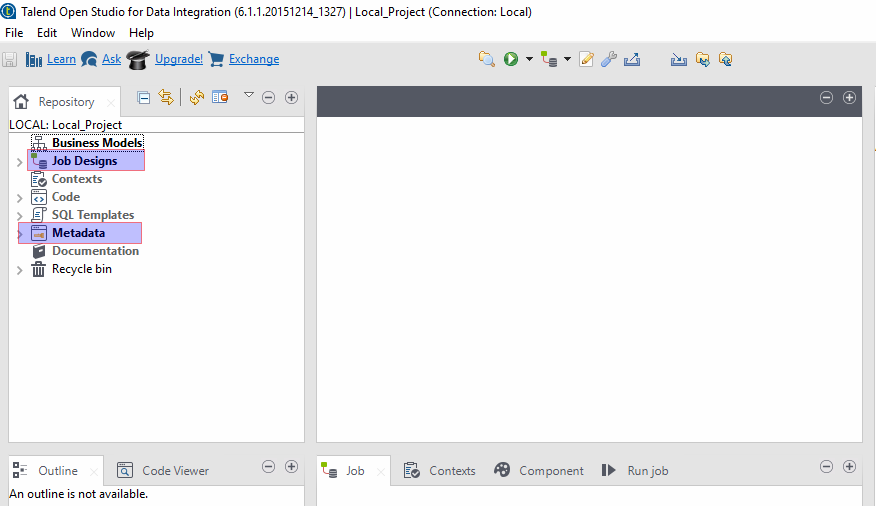
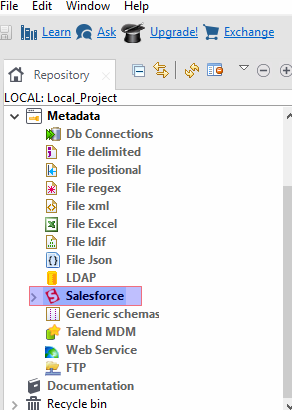
2. Click on Meta data ans select salesforce from the options
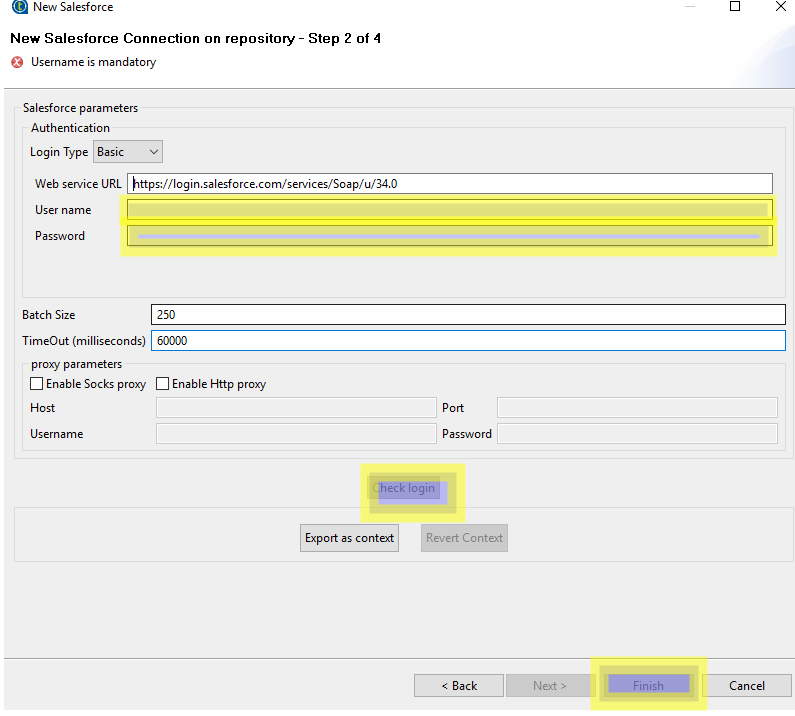
3. Right click on Salesforce and click add connection and fill the name then press next and fill up the user name and password for the source org then click on check login and then finish, for target org follow the same process.
4 After adding the connection right click on the source org and click on retrieve modules which will open up the list of available object that can be migrated.
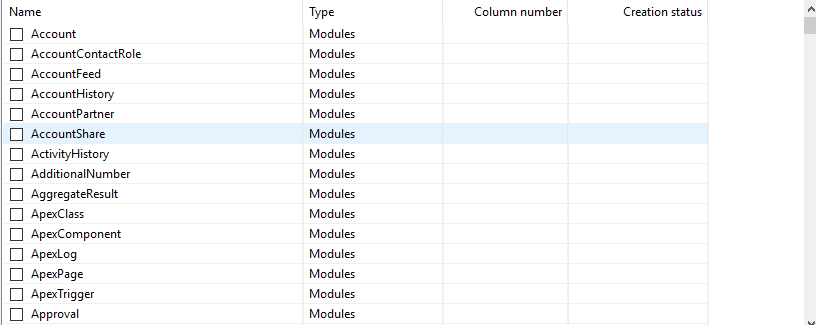
select any object from the source org which is required to be migrated and click finish.
5. After retrieving the modules now the repository will look like this :
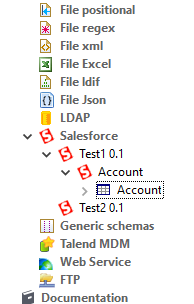
here test1 is the source org and test2 is the target org
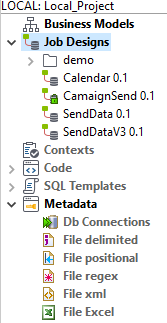
6. After this click above on job design in the repository and create a job
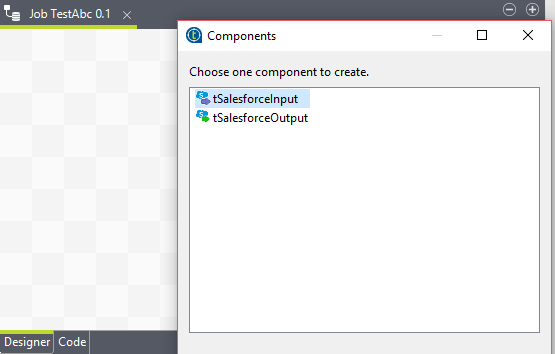
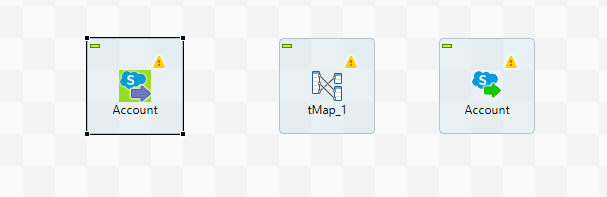
7. Once the job is created drag the account blue icon from test1 and drop on the canvas and select it as tSalesforceInput and form test2 repeat the same process but this time select as tSalesforceOutput
8. After this the canvas will look alike this :
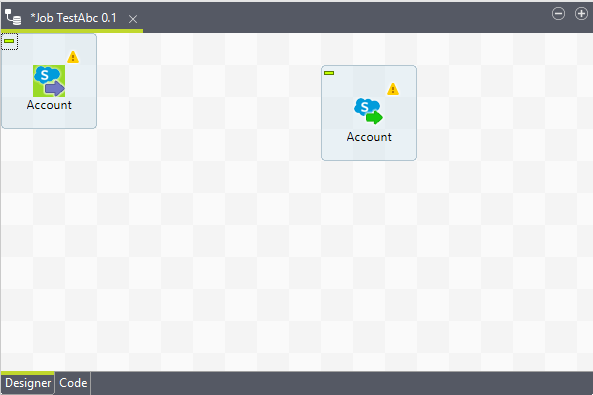
In this the icon on the left is for source org and the right one is the target org.
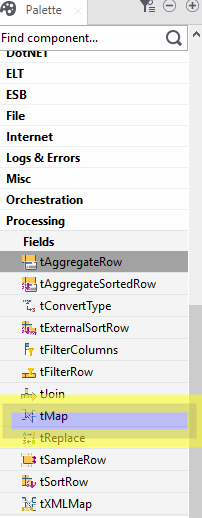
9. After this go to the palette section on the right side ans select tmap highlighted below and drag and drop on the canvas
10. After this the canvas looks like this :
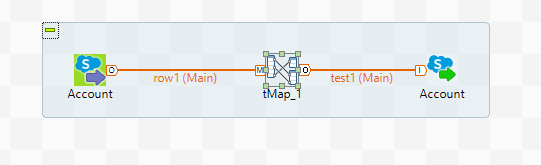
right click on the arrow and without releasing the button drag the line up to the tmap icon and from the tmap again click on the tmap and drag the line up to the blue arrow to complete the connection.
11 . Now the canvas will look like this :
12. Once the above process is done double click on the tmap
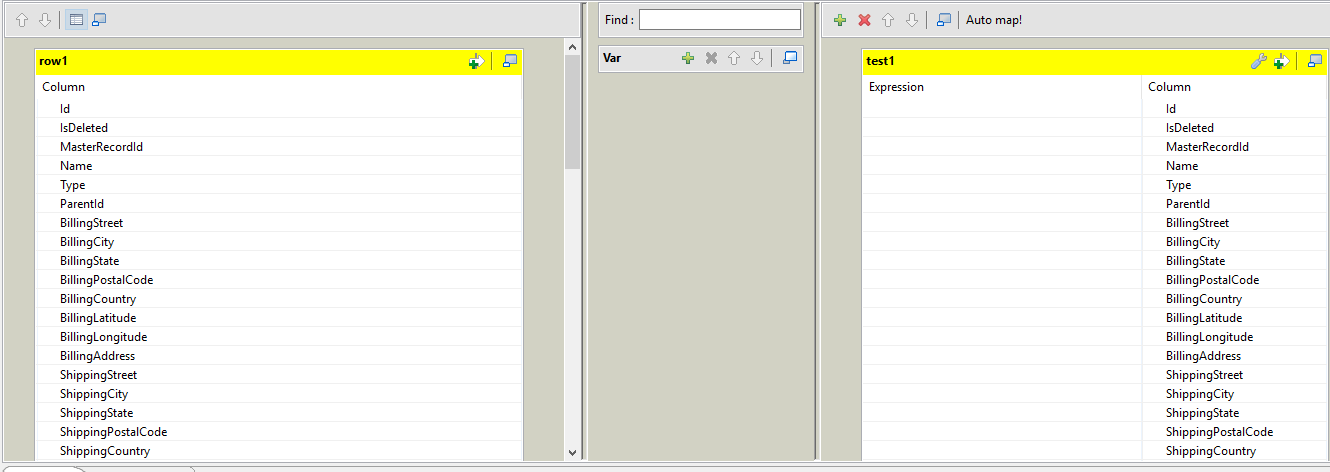
this window will be opened to map the Salesforce fields, So click on auto map to map the fields
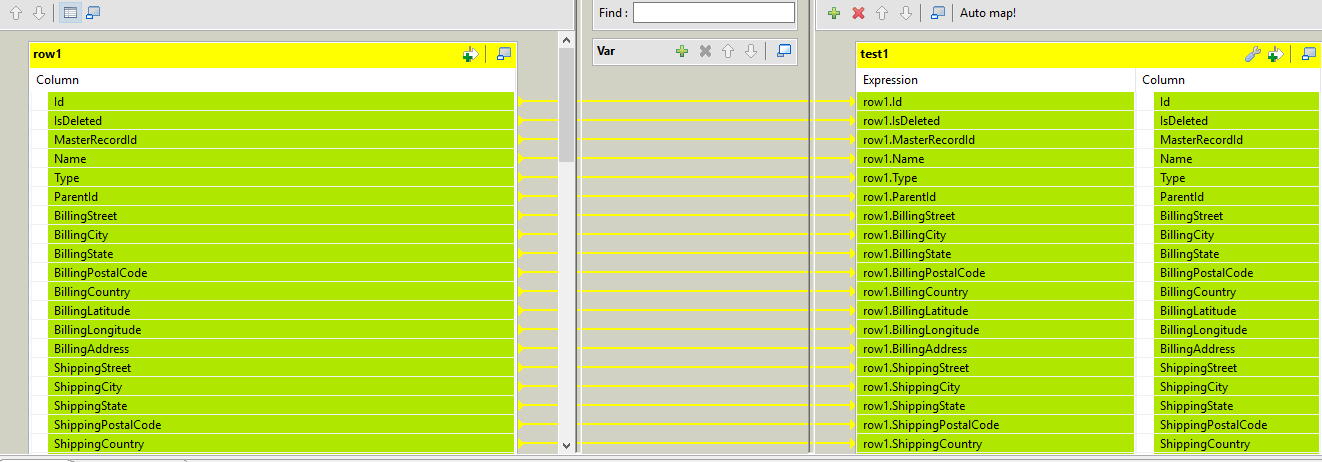
after auto map now you can change the mapping manually by clearing the mapping of a field like below :

click on the button highlighted and it will pop up new window like below :
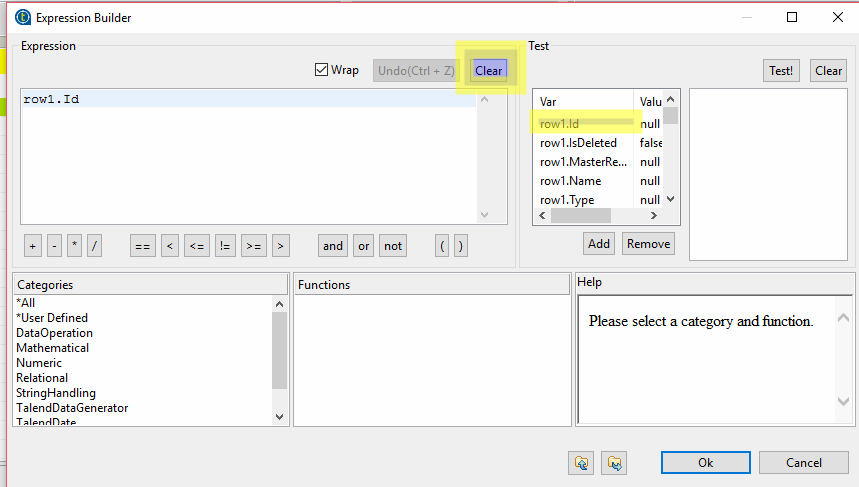
select the highlighted filed and click on the clear button to clear the mapping and once the mapping is cleared select the field on the left hand from the mapping window and drag it up to the desired field to which you want to map the field.
13. After this click on finish and you will be redirected to the canvas, so on the canvas select the output icon that will open a section at the bottom like this :
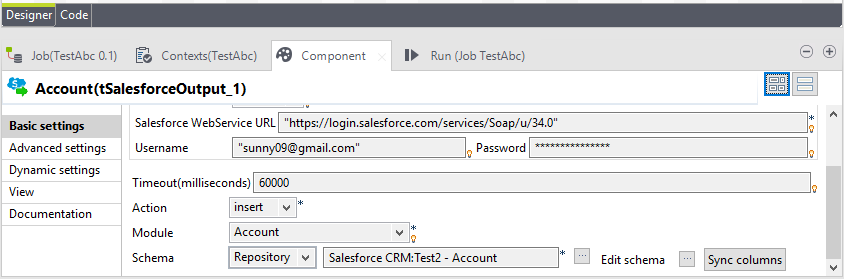
so from the Component tab we can change the action i.e insert, upsert or update as per the requirement. So after selecting the action click on the next tab i.e the "Run Job"
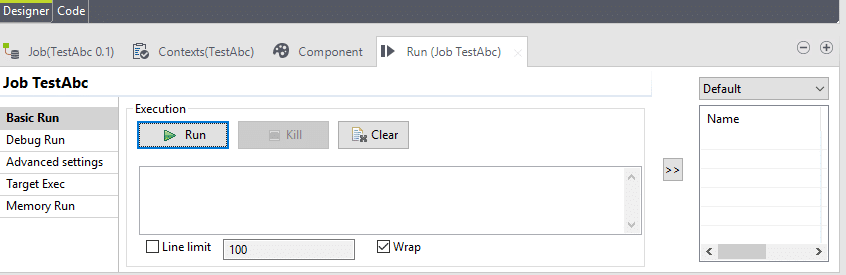
Click on the run button to complete the job.


