

Integrate Salesforce with MuleSoft
In this blog we are focusing on Salesforce integration with MuleSoft.
Firstly, we will need a Salesforce developer account by clicking on the following link: https://developer.salesforce.com/signup.
Then a MuleSoft account by clicking the following link: https://anypoint.mulesoft.com/login/signup.
In this first example we can send a couple of contact records to Salesforce with the help of MuleSoft. For this we have to download any point studio which is a MuleSoft IDE by clicking on this link https://www.mulesoft.com/lp/dl/studio.
We are going to use any point studio for this data transfer. First download the any point studio. Then extract the zip file in your directory and the click on the application to install it. After installation is finished click on the any point studio icon it will launch a wizard like shown in the figure below.
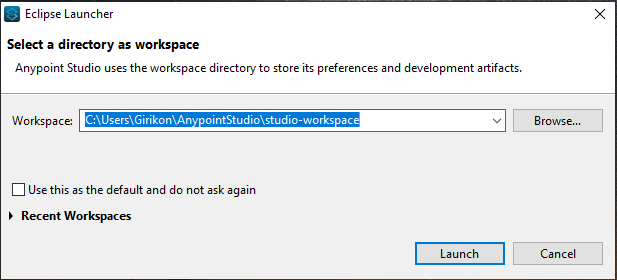
Fig: – Launch Wizard of Any point Studio
- Click on the launch button after selecting the directory of your workspace. It will then open the any point studio as shown in the figure below.

Fig: – Any point Studio
-
- Open the example project in Any point Studio from Any point Exchange by logging into your MuleSoft account.
-
- Download Import Contacts into Salesforce application. Note: do not run the application.
-
- Login to your Salesforce account.
-
- In the left navigation bar, open My Settings under the Personal Setup heading, click to expand the My Personal Information.
-
- Click Reset My Security Token. Salesforce resets the token and emails.
-
- Open your mail account where the security token is sent and copy the token onto your local clipboard.
- Now open your Any point Studio after downloading and opening the application it will look like as shown in the given fig.
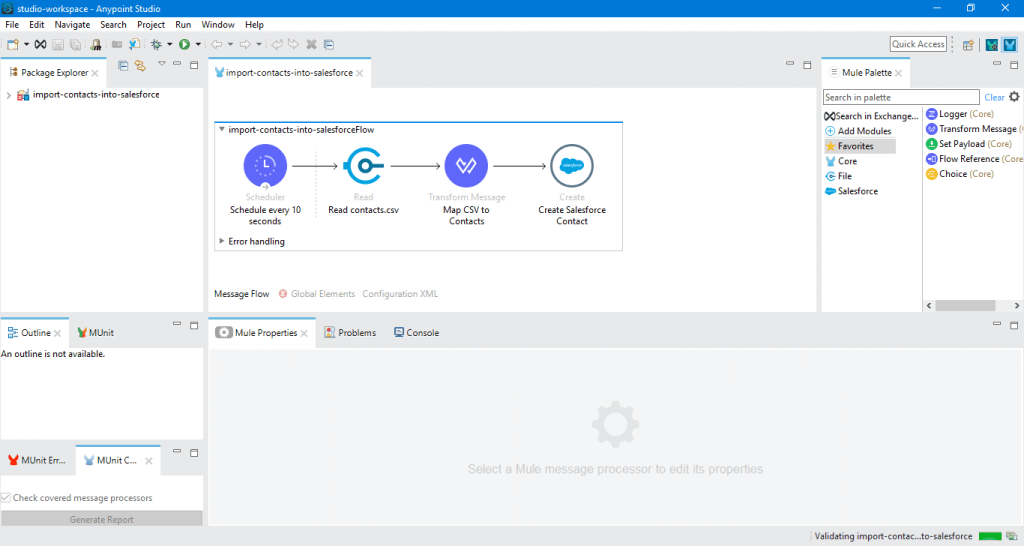
Fig: – Any point Studio with application
-
- In your application in Studio, click the Global Elements tab. Double-click the Salesforce SFDC config global element to open its Global Element Properties panel.
-
- In the Security Token field, paste the Salesforce token that you copied from your mail.
-
- Alternatively, configure the global element in the XML Editor.
-
- Change the contents of the Username and Password fields to your account-specific values, then click OK to save your changes.
- This application project includes a sample CSV file, contacts.csv, that you can use to view the end-to-end functionality of this application. The CSV file will look like this.

Fig: – contacts.csv
In the Package Explorer, click the src/main/resources folder to expand it, then find the contacts.csv file inside this folder. Double-click the File config tab in the Global Elements tab and set the Working Directory field to point to the src/main/resources folder. In the Package Explorer, right-click the import-contacts-into-salesforce project, then select Run As > Mule Application.
Studio runs the application on the embedded server. After the application runs successfully it will create two contacts records in Salesforce which the csv file contains. Open your salesforce account, then navigate to the Contacts tab. It will show you two new entries: John Doe and Jane Doe.

Fig: – Two new contacts created


